- Navigate to the General Room Selection page under Current Residents on the Home page.
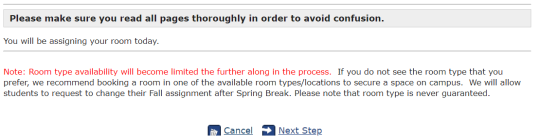
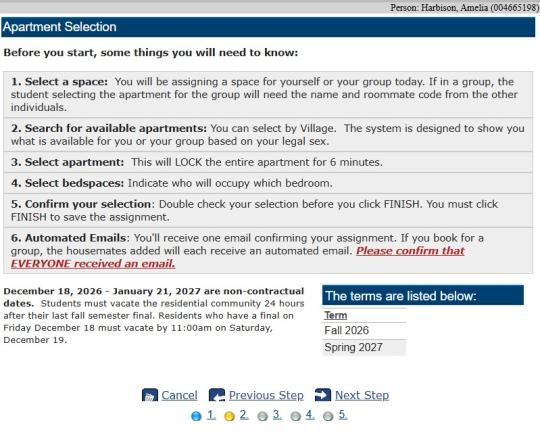
- Read each page carefully.
|
|
|
|
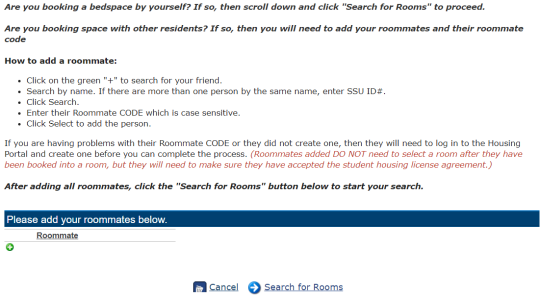
- If you are selecting a room only for yourself, click “show me rooms” at the bottom of page. If you are part of a group, enter in your friends name, SSU# and Roommate CODE, then “show me rooms.” Below is a screenshot of what you will see for Day 2 & 3 (March 12 & 13). March 11 will look similar.
|
|
|
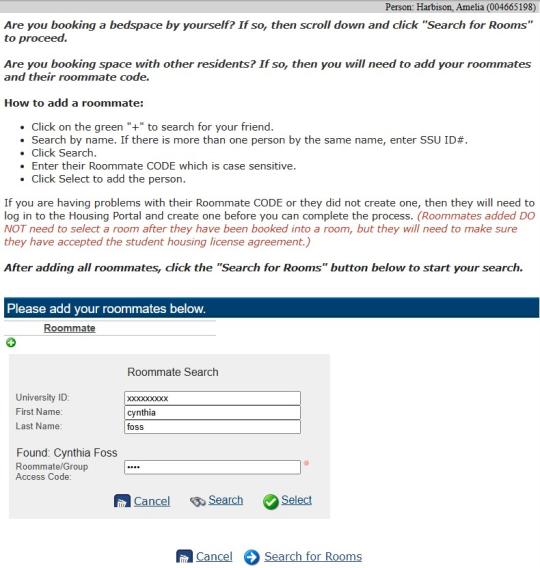
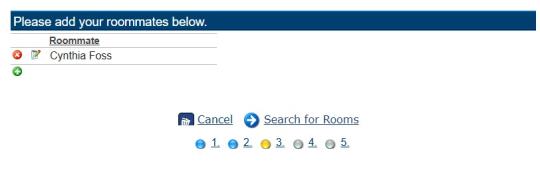
- Example of adding roommate(s). Follow the instructions and click on the green plus icon, enter in either the First and Last name or the University ID number and then Search. You will be prompted for the roommate CODE provided to you by the person you are requesting. After entering the code, click Select.
|
|
|
- Once all roommates are added, click Search for Rooms.
|
|
|
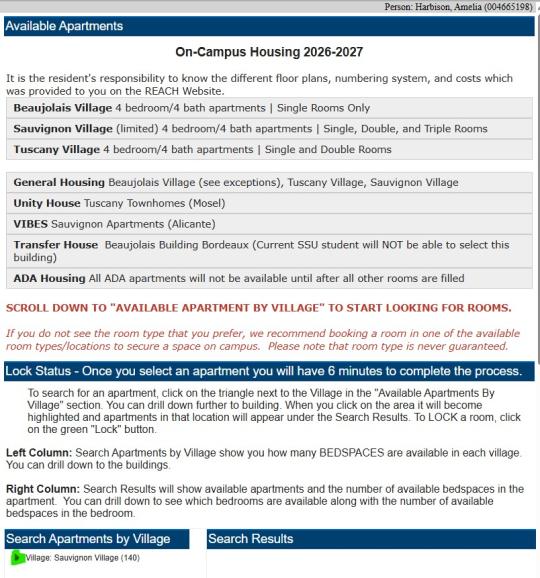
- The software is designed to show you what is available in each village based on the legal sex of the person logged in, as well as, the available spaces for the individual or the amount of people in the group.
- Students requesting Unity House will only see bedspaces available in the designated units for Unity,
- As students book rooms, availability in locations and room type will be reduced.
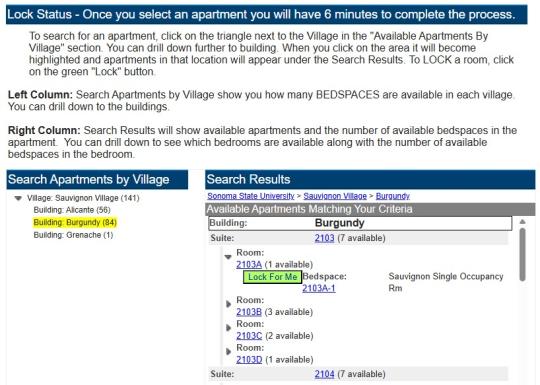
- To search for an apartment, click on the triangle next to the Village in the "Available Apartments By Village" section (it is highlighted in green in the example below).
|
|
|
- You can drill down further by building. When you click on the area it will become highlighted and apartments in that location will appear under the Search Results.
|
|
|
- Select an apartment by clicking “LOCK.” Rooms will be held for six minutes while you assign yourself and/or friends to a bed space in the apartment.
- Example for individual “Lock”:
|
|
|
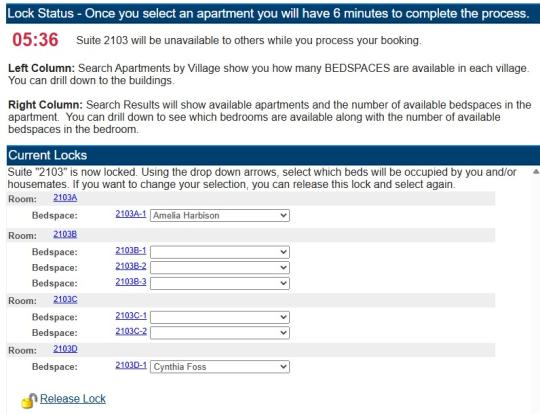
- Example for locking a space for a group:
|
|
|
- After locking the apartment, you can then assign yourself or the group members to the appropriate room(s). To change the room, click Release Lock. You will be brought back to the previous page. To save the room assignments and “Book” the room(s), click Book Rooms as listed on the bottom of the page.
|
|
|
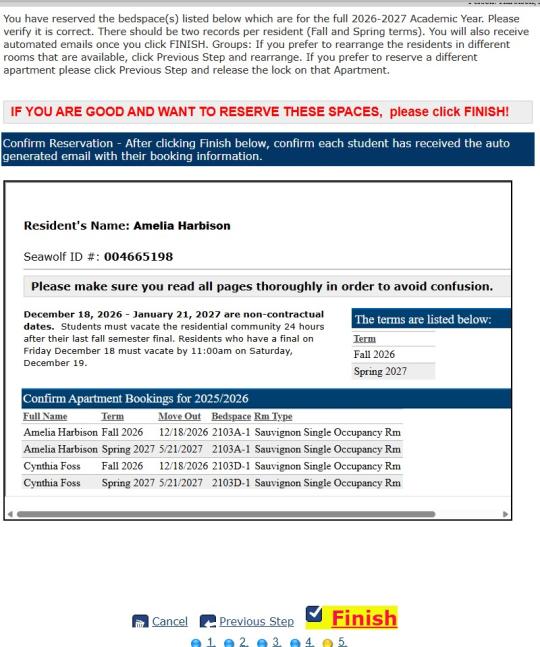
- Review the assignment(s) on the Confirmation page and click 'FINISH.' The individual/each person who was assigned will receive a confirmation email.
|
|
|
- Please be sure to click LOG OUT on the very last page.
|